

A local model for building textured 3D objects from a photo. The second version forms a polygonal grid and materials for export.
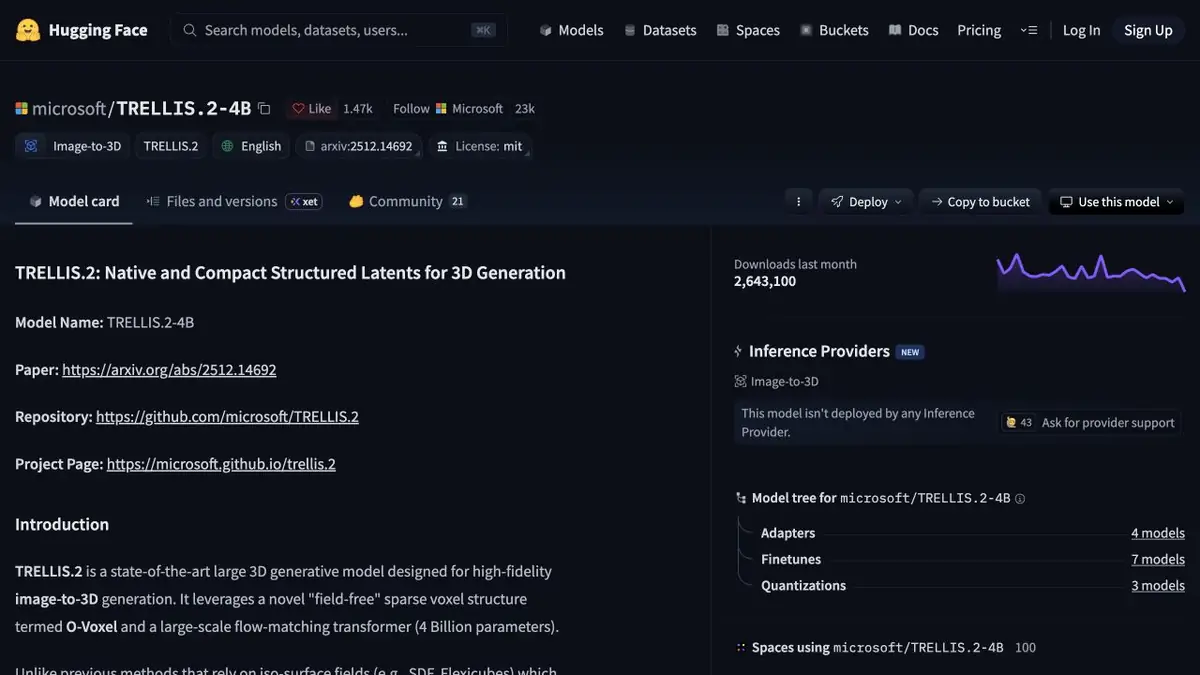
Photo as a sketch of a three-dimensional shape
TRELLIS.2 takes an image of an object and builds a volumetric object with materials. This is a separate model of Microsoft Research. In the repository, there is a separate example of texturing the finished grid. This mode is useful if you have already agreed on the form and want to evaluate how the surface will look on it. For a request with one photo, a large object on a calm background is usually more convenient than a close frame with overlaps.
Checking the object under different light
Take a tutorial shot of a small ceramic vase with a handle. After processing, open GLB in the editor and bypass the object with the camera. See if there is a gap between the handle and the wall, whether the edge is read and where the texture seam passes. Then move the light source. A comparison with two lighting schemes helps to detect a dark spot transferred from the photo to the color of the material.
If the silhouette fits, save a separate draft for the scene. Set the scale to the known size of the original object. From one frame, the model can not recognize its real dimensions.
Before launch and export
The official TRELLIS.2 instructions describe the setting of the environment and dependencies. Check the amount of available memory before downloading the weights. In the unloaded grid, separately estimate the number of polygons and the suitability of the scan for your editor. The model can transmit a recognizable shape, but does not confirm the device of the back side or inner cavity. To print the grid and its closure will have to be checked separately.
Suitable tasks
- Get the form of props from the photo
- Prepare a model for testing in Blender
Strengths
- Export a mesh with materials to GLB
- Texturing mode of already prepared grid
Limitations
- Hidden surface model completes on assumption
- Local installation of TRELLIS.2 requires a suitable graphics card
Selection and conditions
- Free access
- Yes
- Trial period
- Not confirmed
- No sign-up required
- Not confirmed
- Russian interface
- Not confirmed
- Local installation
- Yes
- API
- Not confirmed
“Not confirmed” means there is not enough information. The feature may still be available; check the developer’s terms.
- Input formats
- Image
- Result
- 3D model
Terms
Microsoft publishes the source code, weights and a demonstration link. For the local version of TRELLIS.2, check the requirements for Linux and graphics card memory.From task to first result
Practical example
- Task
- Get the form of props from the photo
- What to prepare
- Description of the table lamp or your own photos of the object from different sides. Clarify the purpose of the model and the target 3D-editor.
Task brief or prompt
Prepare a rough 3D model of the table lamp for the interior scene: a stable base, separate lampshade, simple materials. Use your own references. First, evaluate the form, then prepare an export format available in the selected plan.
Expected result
A rough object model for subsequent checking in a 3D editor. Geometric accuracy and production readiness are not assumed.
How to check the result
- Examine the silhouette from all sides, cavities, fine details and intersections.
- Check the scale, materials and opening of the exported file in the target editor.
- Before commercial use, check the selected plan's license and the rights to reference materials.
An editorial teaching example of a task brief, not the result of hands-on testing of the service. Check that the required mode is available, that you have rights to the source material and that the intended use of the result is permitted.
Check details
Official sources
- Project TRELLIS.2 and examples of three-dimensional objects
- Code, weights, installation and license TRELLIS.2
This description is based on the developer’s material. Features, prices and availability may change; check the primary source before use.