
A practical guide
How to restore an old photo in Qwen and preserve facial features
Restoration can make a person noticeably younger or give an old shirt a new pattern. Learn how to remove damage from a photograph and stop unwanted changes in time.
Start with the best available input
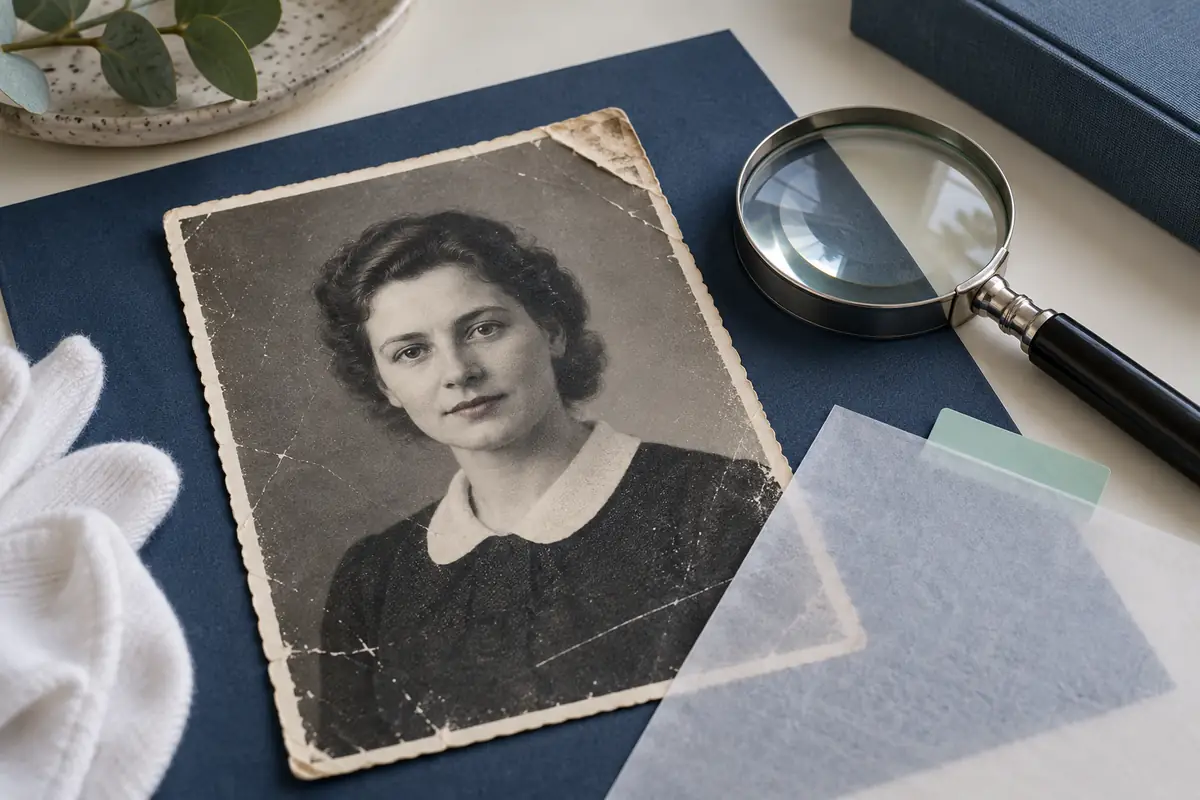
In an old portrait, keeping a familiar look matters more than smoothing the skin. An AI model can make the photograph more appealing while changing the smile, eye shape or person's age. Start restoration with a good copy of the original, and finish by comparing the details.
If you still have the print, try scanning it first. When photographing it with a phone, lay it flat, remove glare and keep the camera parallel to the surface. Include the whole photograph, rather than only the face. You can straighten the edges and crop the surrounding space afterwards.
Do not use a screenshot from a conversation if the original file is available. A small compressed copy retains less information about eyes, hair and clothing. Save the original separately and make a working copy for editing. At this stage, do not add sharpening, cosmetic filters or color.
Use an image editing mode
The name Qwen covers different models. Restoration requires a tool that takes a photograph and edits it according to an instruction. A text chat that can describe an uploaded picture cannot necessarily return an edited image. The official card for Qwen's visual model release 2509 includes examples of restoring old photographs. The newer Qwen-Image-2.1 documentation describes editing an input image and making local changes. This confirms the type of work supported, but not an identical set of controls on every platform.
Open a Qwen editor available to you and attach the working copy. Make sure you have selected a mode for editing the uploaded image. The bot workflow is covered in the guide below; for another platform, check its available modes and terms on its own page.
Limit the first prompt to damage
Avoid asking for a beautiful, modern, colorful and highly detailed photo all at once. Such requests leave considerable freedom to change the person's appearance and the image's treatment. Start by naming the visible defects and stating what must stay the same.
For a photo of your own, you can start with this illustrative prompt: “Remove scratches, dust and small stains from this photograph. Preserve the facial features, age, expression, hairstyle, clothing and composition. Do not colorize the photograph. Do not add jewelry, new objects or details that are not visible in the original.”
If the original photo is in color, replace the instruction not to colorize it with one to preserve the existing colors. If only the background is damaged, say so.
An instruction to preserve the face sets a goal, but cannot prevent every possible change: you still need to check the result.
If the face changes, go back a step
Overly smooth skin and a new smile are not faithful to the original just because they look natural. Do not continue improving that result. Return to the working copy and narrow the task: for example, ask to remove only scratches in the background without touching the face.
If your chosen editor version supports local edits, mark the damaged area using an available method. The Qwen-Image-2.1 documentation describes selections and separate masks. This is a capability of a particular model and interface, not a button that must exist in every Qwen service.
Save a separate file after each substantial edit. This lets you return to a version from before the face changed, instead of trying to correct one model guess with another.
Compare the person and objects, not just overall sharpness
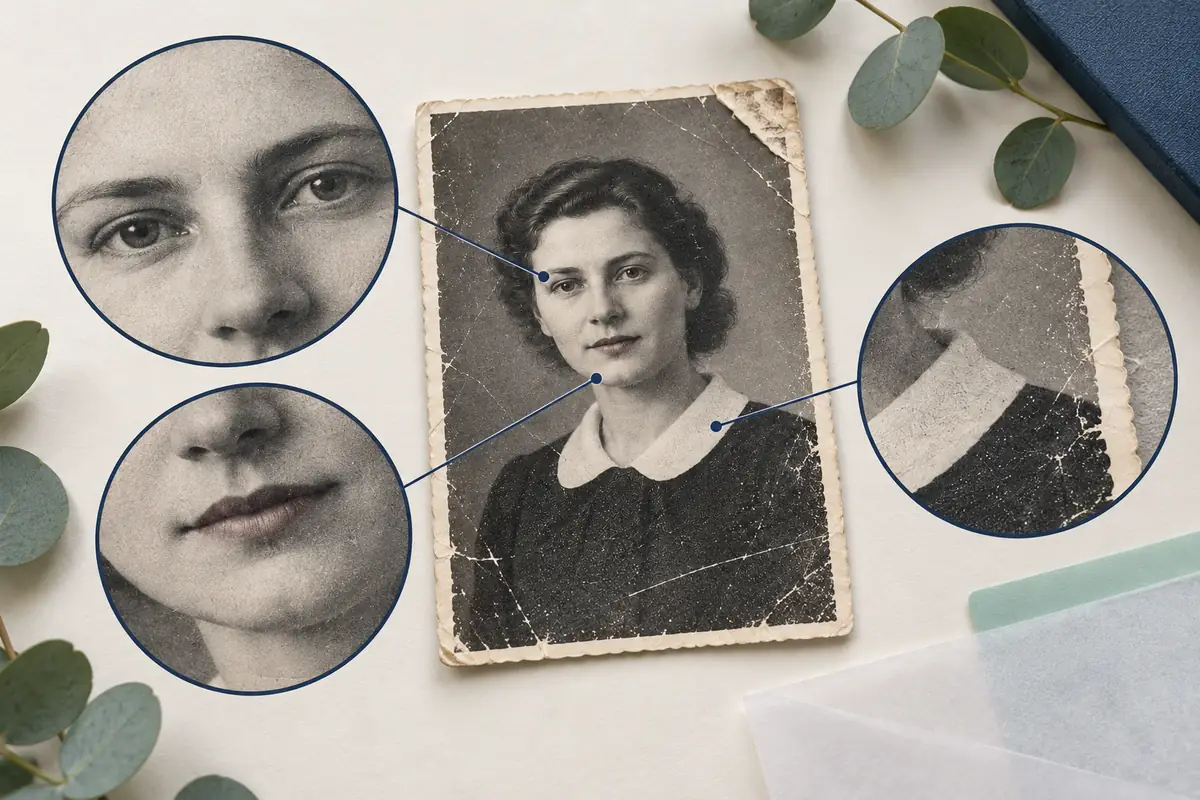
Place the original and the result side by side at the same scale. Start with the shape of the eyes, mouth, nose and position of the head. Then check fingers, buttons, the collar, fabric patterns and objects in the background. A convincing new detail may still be absent from the original. The diagram in this section uses a fictional portrait and does not depict a Qwen test result.
Pay particular attention to captions, numbers, insignia and other information from which someone might draw conclusions about a person or event. An unreadable inscription does not become a reliable source after processing. If numbers or letters have been created anew, check them against separate material, rather than judging by how attractive the image looks.
An AI model can fill a completely missing area with plausible content. The reconstruction alone cannot reliably establish what was there before. For a family archive, keep an unprocessed copy even if everyone likes the cleaned version.
Handle colorization and enlargement separately
Once the damage is less noticeable and you are satisfied with the likeness, decide whether color is needed at all. It changes the impression of a portrait, but does not establish the real colors of the eyes, clothing or room. Keep a color version separately and label it as a reconstruction.
Increasing the size does not prove that fine details have been restored correctly. Check the finished file at the size at which you intend to display or print it. A large portrait on a screen and a small photo in a family album call for different degrees of processing.
Keep the chosen version, your prompt and a short note about the changes alongside the original. For example: “Stains and scratches removed; the face could not be preserved completely.” This record is more useful than a promise of perfect restoration: later, you will know what changed and where uncertainty remained.
