
A practical guide
How to create a talking avatar from a photo in HeyGen
One photo can become a short spoken message with facial expressions. Learn which portraits work well for HeyGen and what to check before sharing the video.
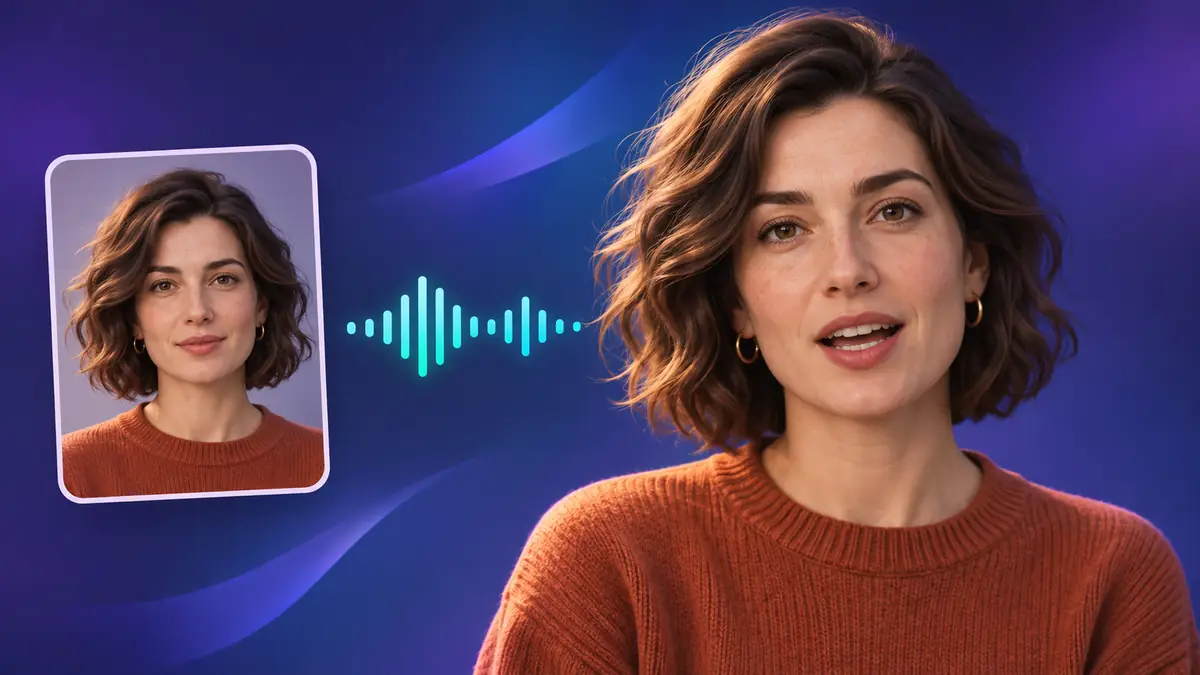
Choose a short message for your first video
An invitation to a workshop or a welcome message before a lesson does not always need a fresh recording on camera. In HeyGen, Photo to Video with Avatar IV takes a still photo and either text or an audio recording. The service generates facial movements and synchronizes the lips with speech. We will use a short invitation as a teaching example, with a presenter speaking from her own portrait.
Start by writing what the viewer needs to know. For an invitation, name the event, time and where to find the details. A complex explanation with several actions is better supported by real footage of those actions. A talking portrait helps deliver a message, but does not show someone how to assemble a device or perform an exercise.
Prepare a photo with a clearly visible face
Use your own portrait or a photo of someone who has given permission to use their likeness in this recording. Check the rights to the photograph too. HeyGen’s terms require the necessary permissions for images and voices. Being able to upload a file does not replace the consent of the person shown.
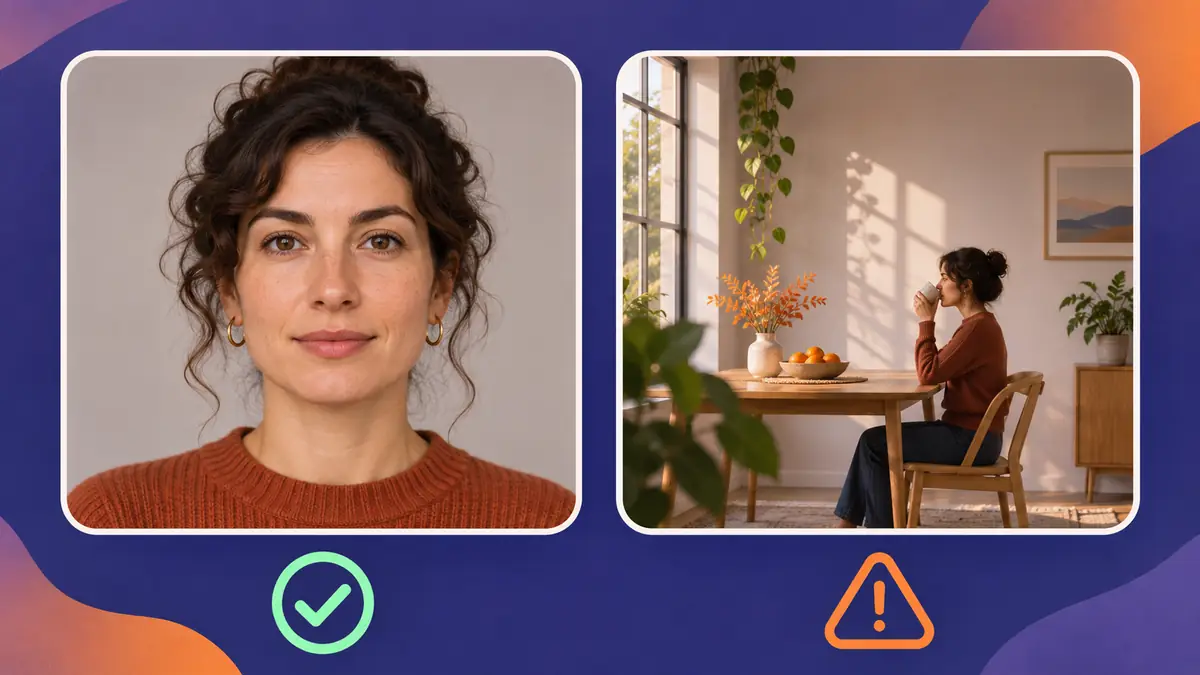
Choose a photo where the face occupies a substantial part of the image. The eyes and lips should be clearly visible. A cup, collar or hand covering the mouth makes the input harder to interpret. The official Photo Avatars guide specifically warns about faces that are too small in the frame and lips that are difficult to distinguish.
Consider the final composition. A portrait framed at the shoulders against a simple background works well for a calm message. If the original photo shows the whole room, make a separate copy with a suitable crop first. Leave some room around the head so the final frame is not too tight at the top.
Open Photo to Video and add your content
In your HeyGen account, open Apps and find Photo to Video. The official help also describes access through Tools. Section names and locations may change, so look for the tool’s name and check that Avatar IV is the selected engine.
Upload the prepared portrait. For the voice, write a script or add an audio file. If you use text, choose an available voice and listen before generating the full video whenever the interface offers an audio preview. Avoid preparing a long speech before you know how it will pronounce your names and terms.
Here is a script for our example invitation. ‘Hello! We’re meeting at our workshop on Saturday at four o’clock. We’ll be making paper cards. The details and materials list are in the description.’ This is a fictional example. For your own recording, replace the event and arrangements with accurate information, then read the script aloud. If you run out of breath in the middle of a sentence, split it into two.
Choose between a synthetic voice and your own recording
A text script is useful when you want to check the wording quickly. Write numbers as you want them spoken, and test unfamiliar names separately. A word with the same spelling may be pronounced with a different stress. A pleasant voice does not correct a mistake in a place name or meeting time.
An audio file lets you set the pronunciation and pace with your own speech. Record it somewhere quiet without background music. Listen to the beginning, word endings and pauses before uploading. If a consonant is missing from the original recording, lip animation will not restore the meaning for you. Using another person’s voice also requires the appropriate rights and permission.
Set restrained movements and check credit usage
The current HeyGen guide describes Motion Generation Mode, Expressiveness and Custom Motion. For a first invitation with a calm tone, choose restrained expressiveness and simple gestures. This is an editorial choice for this example, rather than a required setting for every avatar.
If you add a motion description, choose one clear action, such as a slight nod at the end of the message. Excessive gestures will distract from a short announcement. If keeping the portrait’s composition matters, do not ask the avatar to show an object that is absent from the original photo.
Before starting, read the usage estimate in your account. Avatar IV uses credits, and available modes and conditions depend on your plan. The documentation describes different generation methods separately. Check the duration and chosen settings in the confirmation for that task, then select Generate.
Check the speech, face and movement separately
Once processing is complete, open the result in Projects and listen to the message while following the script. Every detail of the invitation matters, especially the time, place and proper names. Correct the voice before working on the video’s presentation.
Then watch the lips and face. Do the starts of words line up with the mouth movements? Does the shape of the teeth remain consistent? Does the edge of the glasses jitter? Assess the transitions between phrases. A long motionless pause or sudden head turn can look odd even when an individual frame looks good.
Compare the result with the original portrait. Check the clothes, hairstyle and background, as well as the hands if they are visible. On the next attempt, change one specific issue. Correct an unsuitable pace in the text or recording, and excessive movement in the relevant settings. That makes it easier to see which change improved the result.
Check the saved video in its publishing context
Save the finished video using the option available in your account and open the downloaded file separately. Make sure it is the right version, the beginning and end are complete, and the full audio plays. Watch it on a phone if the message is intended for a mobile audience.
Keep the original portrait, script and voice recording together. If the meeting time changes, they will help you update the message without guessing the previous settings. If viewers might mistake the synthetic message for footage of a real recording, explain how it was made in the caption or another prominent place.
